
Tone and Polarity
One of the more complicated issues that is raised is expressing the polarity of the end products. By this, we mean generally mean what parts of the pattern are opaque and transparent, and from which side of the substrate the pattern will be viewed.
Note that although you can create the CAD drawing with the correct polarity and tone already set, it is also very easy for us to change this during the CAD setup process. So, if you have drawn your product as a positive but want a negative, this is easy for us to swap before imaging.
There are many ways to describe Tone and Polarity, and each method depends on what industry you are familiar with.
Tone
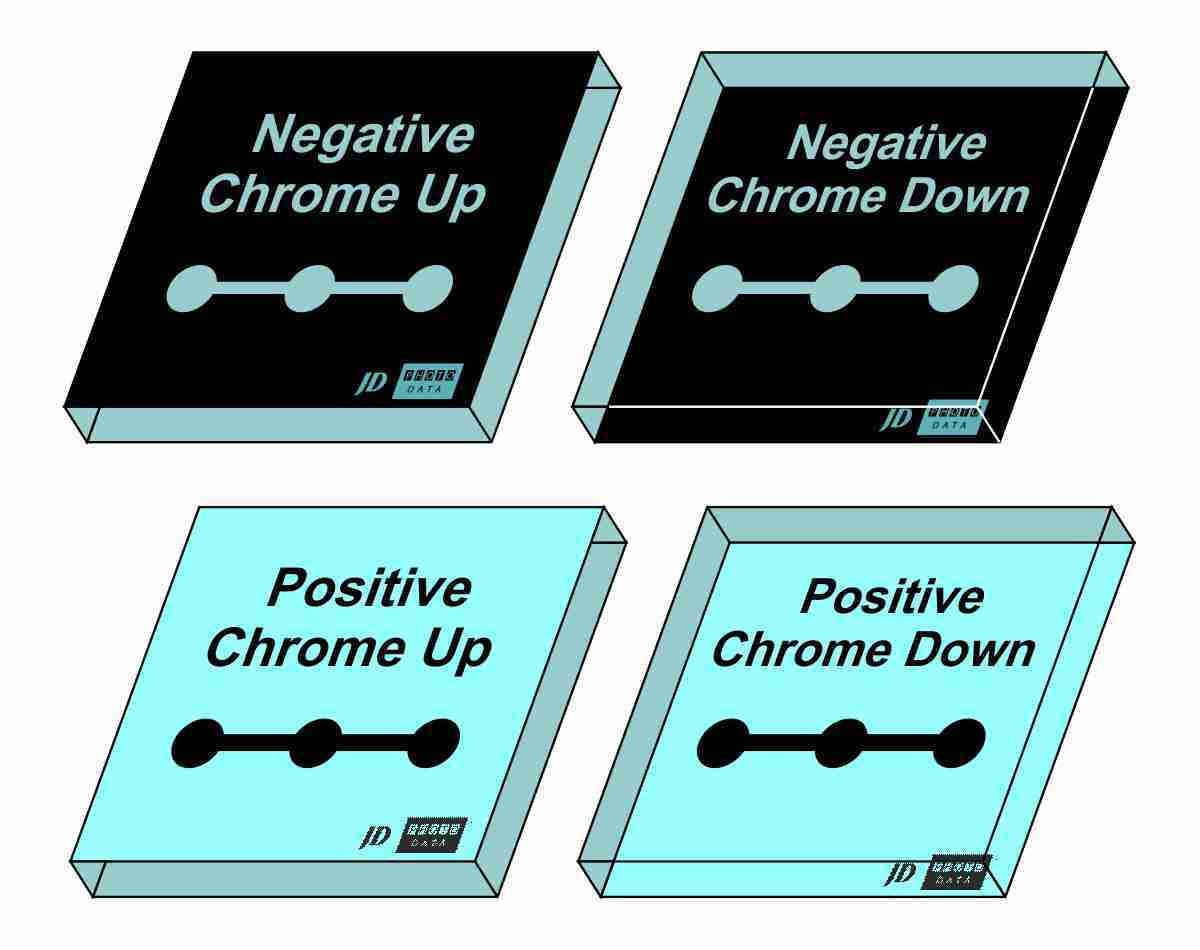
Positive: This refers to the fact that the pattern is seen as how it will appear on the final product. It also means that the data you have drawn in CAD will be opaque on the pattern, with the background being transparent. Generally, but not always - this will mean that a bigger percentage of the final pattern is transparent and a smaller portion of it will be opaque. PhotoMasks are normally referred to as Clearfield (positive), which means that the field behind the data is clear
Negative: This is the opposite. The data drawn in CAD will be transparent on the final pattern, and the remained will be opaque. For photomasks, this is normally referred to as Darkfield (negative) which means that the field behind the data is dark (opaque)
Polarity
We also need to know which way round the mask has been designed on your screen. Generally, an optical component would be designed and drawn looking at the final face of the component. However, when you are using the product as a photomask, then quite often the pattern will be duplicated and therefore is used upside down in production, so in this case the pattern is often reversed.
The easiest way to annotate this is to add some text or characters (anything you like) to the design somewhere - maybe in the corner - and then specify if the text needs to be right reading or wrong reading.
Checkplot
Before we manufacture ANY patterns, we send a checkplot for confirmation. This checkplot will generally show the front and back of the pattern, and also will show what parts are opaque and what parts are clear. We wait for your approval of this checkplot before we begin manufacturing.

